 Are you planning to install a new roof or replace your existing roof?
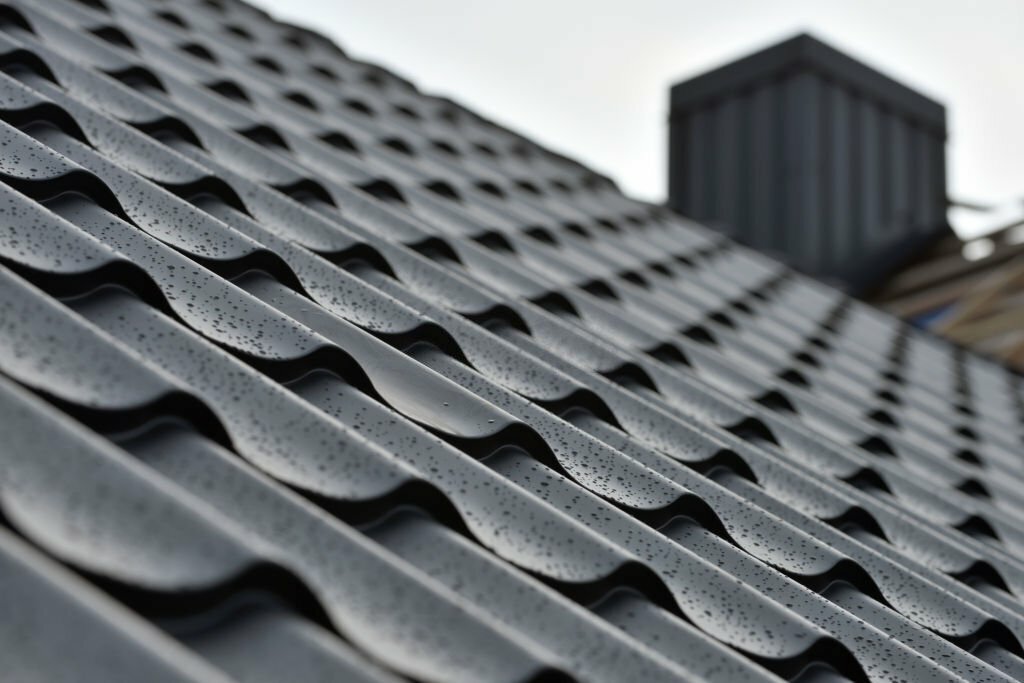
Metal roofing is an excellent option for homeowners and business owners looking for long-lasting roofs that can withstand hurricanes, hail, and wildfires. Depending on the climatic conditions they are exposed to; the life expectancy of metal roofs can exceed 40 years.
Metal Roofing can be installed if you follow a well-planned DIY process, but it can get complicated as there our various factors that come into play such as the selection of the right brand of panels or shingles, which nails to use, how to cut the panels, etc. To answer some basic questions, we’ll walk you through the process of how metal roofing is installed.
How To Install Metal Roofing On a Shed?
Take Accurate Measurements of the Roof
Measure the area and slope of the roof to quantify the supplies you will need before starting the installation work. Once you’ve calculated the total area, add a contingency margin of 10-15% to the total materials for wastage and human error.
When you measure the roof, ensure that you take exact measurements. Don’t forget to consider additions like skylights, chimneys, curbs, and other penetrating features. It’s always good to double-check the initial measurements to ensure greater accuracy.
You should also pre-order all of the necessary materials to avoid any delays. It will also ensure that you have enough materials and metal shingles in stock for you to carry out the installation work seamlessly.
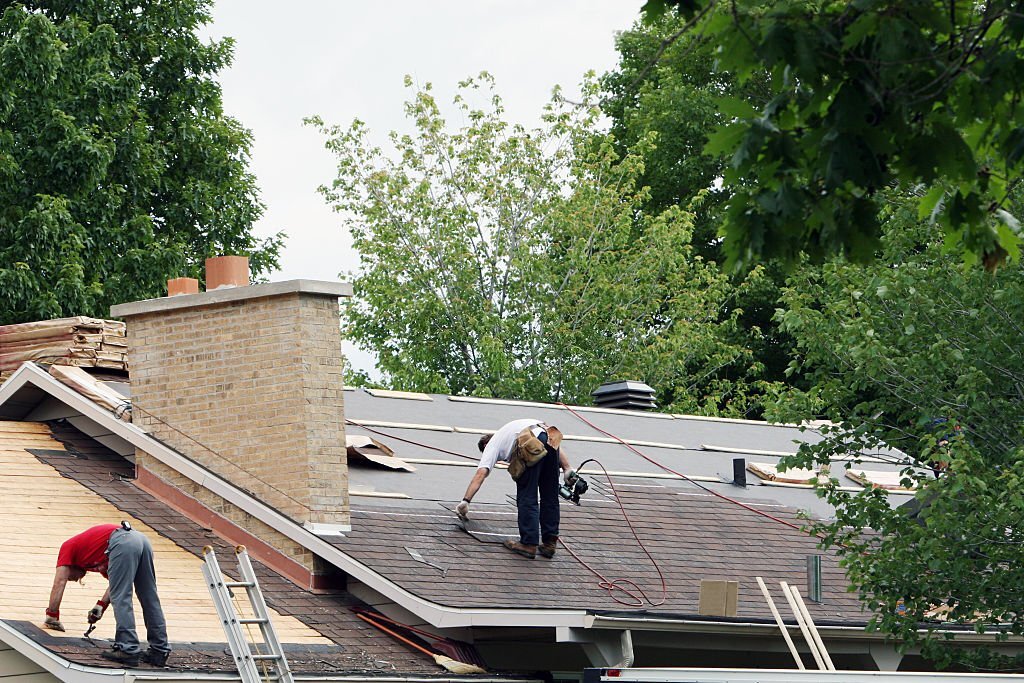
Discard Old Roofing and Repair Damages
Take down the old roof. Prepare a bin or trailer to collect all of the original roof debris and transport it to the local landfill or recycling center. Make sure all of the nails are removed so you can work on a clean, smooth surface.
If the existing roofing frame or plywood sheets have been damaged, fix the issues before installing your new metal roof.
Ensure Proper Insulation
Insulation prevents heat from escaping and water from entering your home. In most cases, one layer of insulation should be enough to protect your home; however, if you live in an area with extreme temperatures, you may want to add a second layer of insulation before installing your metal roof.
Then, finish with eave flashing, drip edges, and closure strips. You can protect your home by covering the entire perimeter of your roof. To secure the flashing and drip edges, use 1 ¼ in. galvanized roofing nails.
Apply sealant tape one inch from the drip-top edges and cover with a closure strip. For your steel roof installation, ensure that everything is straight and evenly applied to avoid bare spots and misalignment.
Install Metal Panels or Shingles
Measure and cut your metal roofing panels or shingles to match the size you need to cover the roofing area before installing them. If the panels or shingles are not of the exact size, they may result in issues like water leakages.
Start at the eaves and work your way up when installing panels on your roof. Align each metal shingle so that it overlaps the edging of the bottom metal panel by ½ to ¾ inches.
Each type of metal roofing sheet comes with instructions on where and how far apart the screws should be placed, so read and follow them carefully. Also, avoid over-tightening the metal roofing screws.
After installing the metal roof panel, apply 100 percent silicone sealant along the underside of the next panel’s short edge. When installing the next panel, the new panel’s short edge should overlap the longer edge of the previously installed metal roof shingle. Install each metal roof shingle in the same manner as you work your way up the roof’s surface.
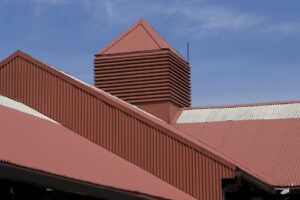
Set Up Roof Ventilation
If you installed metal roof panels that require vented closure strips, you could install roof vents after the metal roofing installation is complete. Follow the same steps for measuring and cutting the vents to ensure it covers and laps both sides of your roof’s ridge. Also, follow the manufacturer’s instructions when installing roof vents to ensure that the correct vents are securely attached to the roof.
There should be no gaps or open spaces between the roof vent and the panel ridges after installation. To ensure that the steel roof installation is done properly along the entire ridge, use wooden roofing screws and sealant tape along the entire length of the vent.
Install Metal Roofing Flashing
The final step in installing a metal roof is to install the flashing. Flashing is the metal trim that is used to cover all the joints where your roof’s metal sheet panels meet. Attach and secure the flashing to your roof joints according to the manufacturer’s instructions. Once installed, the flashing will provide an additional layer of protection against the elements and complete the look of your metal roof installation.
We hope that the above information helps you properly install the metal roofs on your property; however, if you’re looking for assistance from a professional roofer, you can reach out to our experts at SOMD Roofing for quality and affordable roofing services.